How to make Parachute Cord Macrame Necklace

How to make Parachute Cord Macrame Necklace
“I love jewelry but I simply don’t have the patience to make anything”. Heard this before? I hear it ALL the time. Yes, it’s true that making jewelry can sometimes test your limits, (especially if you’re a fan of peyote jewelry), but it doesn’t have to be that way. I’ve realized over the years that most people who believe they don’t have the time or patience to make jewelry, simply haven’t found something they love enough to learn how to make. Why? Because the vast majority of accessories are extremely easy to make. I’ve tested this theory with my friends and family and lo and behold its been proven right every time. Even the ones that insist they have no “talent” or patience have found the motivation to make accessories. All they needed was: 1- an accessory they LOVED and 2- a little guidance and encouragement.
.
That’s why we’ve committed to creating free and easy tutorials for all of you lovely ladies every week. We want to show you that you don’t have to be “a natural” or an extremely patient person to make jewelry. On the contrary, all you really need is the desire to make it, and we’ll take care of the rest.
.
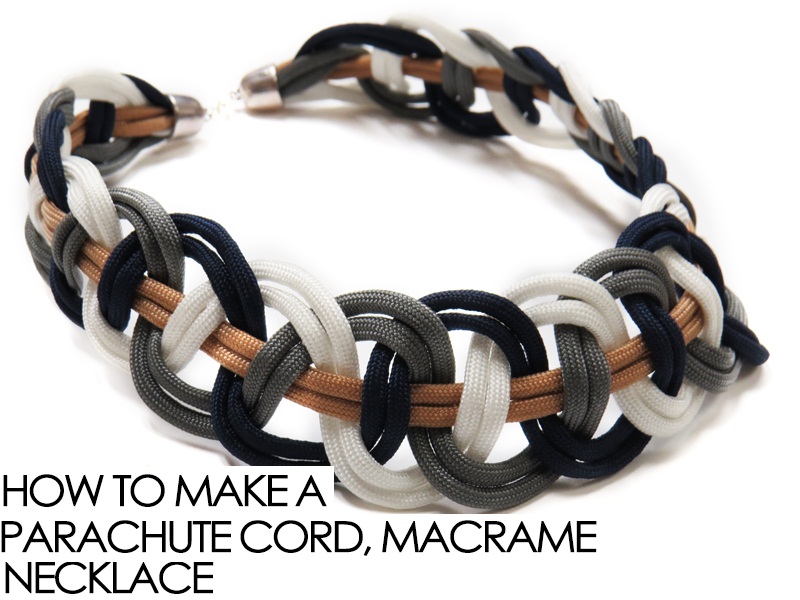
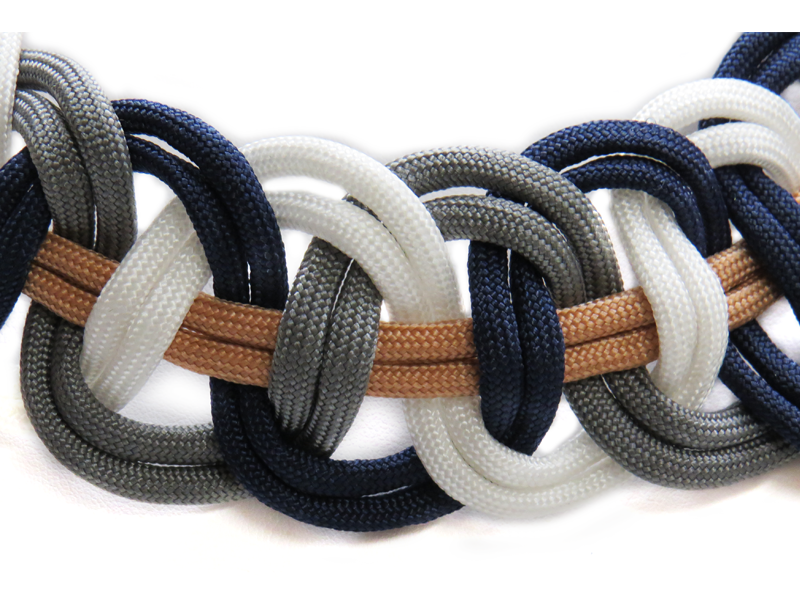
Is it possible to still feel passion for macramé? Yes. It. Is! Especially after we gave it a fun new twist. The necklace in this Thursday’s DIY (Do It Yourself) was made using two parachute cords (as you can see) but wait until you watch the video. It’s fairly simple, but you MUST make sure you understand that ONE step in order to make the necklace. Feel free to rewind as many times as you need before you start making it, trust us, it will make your life SO much easier.
.
Don’t forget to sign up for our newsletter at the bottom of this post in order to receive our weekly DIY’s straight to your inbox. Today’s tutorial is part of our weekly DIY Thursday series, where we share a new beading technique to enhance your skillz.
Scroll down to watch our video tutorial and feed your crafty soul!
PS: All of the materials used for this tutorial are available for purchase in our shop. Simply click on any of the links below.
.
Materials:
1- Parachute Cord
2- 16x13mm End Cords
3- 4mm Jump Rings
4- 12mm Lobster Claw
5- Clip Board
6- Scissors
7- Super New Glue
8- Basic Tool Set 3 pieces
**WE HAVE BEEN RECEIVING FEEDBACK ON THIS VIDEO ABOUT GETTING CONFUSED WHEN CREATING THIS NECKLACE. WE WENT AND MADE THIS NECKLACE AGAIN TO SEE WHERE IS THE CONFUSION AND WHAT CAN WE DO TO MAKE IT EASIER. WE FOUND OUT THE TRICK, WRITE THIS DOWN BECAUSE IT WILL HELP YOU WITH THIS:
1. WHEN GOING AHEAD ON YOUR THRID KNOT THAT WE DONT’T SHOW IN THIS TUTORIAL, DON’T FOCUS ON THE COLORS.
2. THE MIDDLE CORD WILL STAY ALWAYS IN THE MIDDLE
3. NOW, WHEN MAKING THE NEXT KNOTS, REMEMBER THIS
FROM THE RIGHT TO THE LEFT WILL ALWAYS GO ON TOP FIRST THEN THROUGH THE BOTTOM OF THE CENTER CORD
FROM THE LEFT TO THE RIGHT WILL ALWAYS GO THROUGH THE BOTTOM AND ON TOP OF THE MIDDLE CORD.
HOPE THIS HELPS! LET US KNOW IN THE COMMENTS!


COMMENTS
MAKE A COMMENT

